
Why Self-Host Your Video Conferencing?
We all know Zoom, Google Meet, Microsoft Teams, and countless other video conferencing platforms. They work great, but they come with a catch: your data flows through their servers, you’re subject to their terms, and for businesses, costs can add up quickly.
What if you could have your own video conferencing platform, fully under your control, running on your infrastructure, with end-to-end encryption, and without paying per-user fees?
Enter MiroTalk P2P.
The best part? You can have it up and running in about 5 minutes with this tutorial (ehm, it’s more like “copy-paste these commands and you’re done”.) LOL
No, seriously.
What is MiroTalk P2P?
MiroTalk P2P is a free, open-source, browser-based video conferencing solution that requires no downloads, no plugins, and no user accounts. It’s built with WebRTC technology, which means peer-to-peer connections with excellent quality.
The Key features are:
- No registration required
- Screen sharing
- File sharing
- Recording capabilities
- Mobile-friendly
- Unlimited meeting duration
- Self-hosted = full control
The project is actively maintained and has excellent documentation at https://docs.mirotalk.com
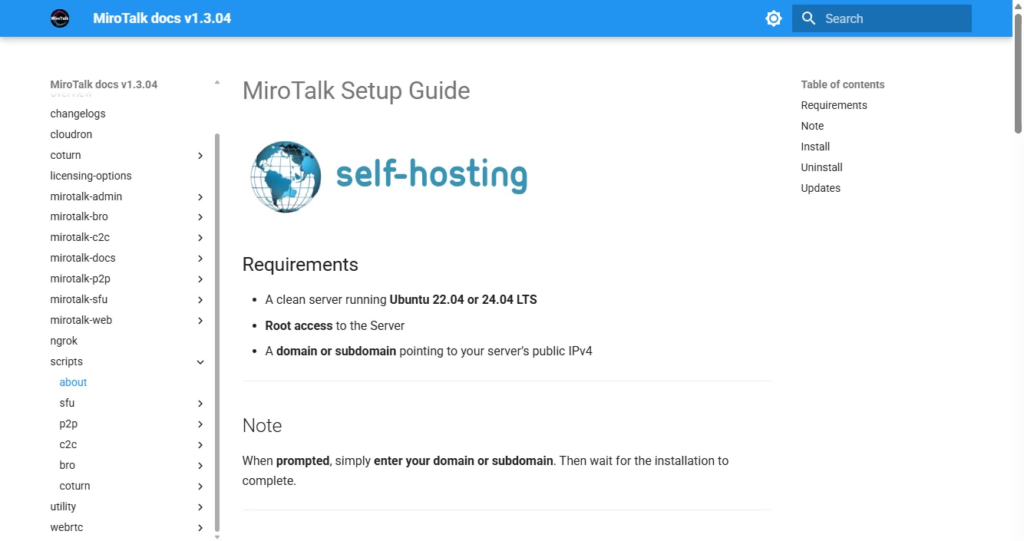
Requirements
According to the official MiroTalk documentation, you need:
- A clean server running Ubuntu 22.04 or 24.04 LTS
- Root access to the server
- A domain or subdomain pointing to your server’s public IPv4
That’s it. No, really, that’s it.
The installation script handles everything else: Docker, Docker Compose, Nginx, SSL certificates with Let’s Encrypt, and automatic certificate renewal.
For this guide, we’ll use Hetzner Cloud.
Why? Because their CX23 instance (2 vCPU, 4GB RAM, 40GB SSD, 20TB traffic) costs just €4.26/month and can comfortably handle 2-3 simultaneous video calls. That’s incredibly cost-effective.
Creating the Hetzner Cloud Server
Create a New Project
If you don’t already have a Hetzner Cloud account, you must create one by visiting https://www.hetzner.com/promo-code and completing the registration process.
By visiting this page, you may find a promo code offering starting credit for new Hetzner accounts. Check the page directly for the current offer.
Once you click the referral link, you’ll see a congratulations page confirming that you’ve received cloud credits. Click “Continue” to proceed with the registration process.
You’ll then be redirected to the main Hetzner Cloud page, where you can learn more about their services. To complete your account creation, click the red “Sign Up” button in the top-right corner and follow the registration steps.
Log into your Hetzner Cloud Console at https://console.hetzner.com and create a new project.
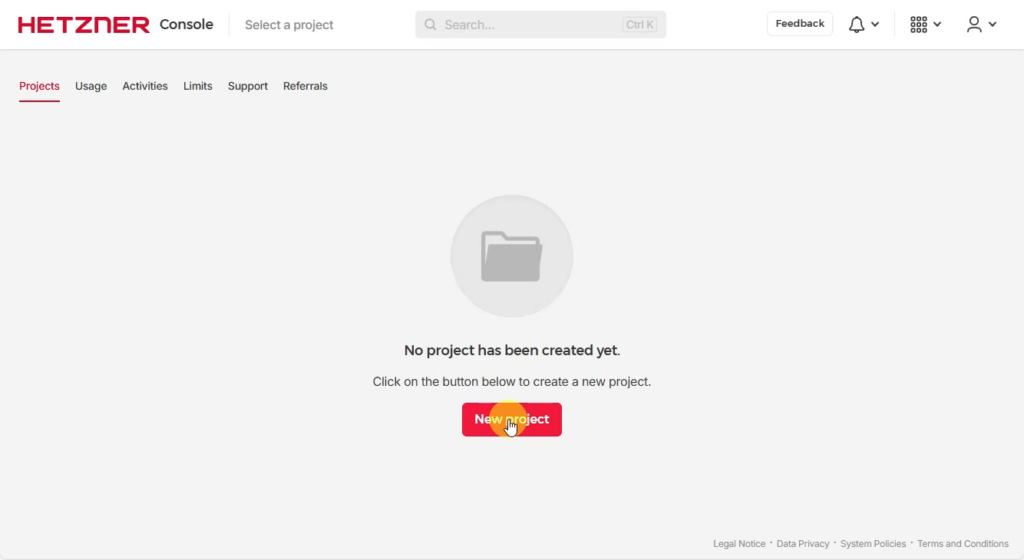
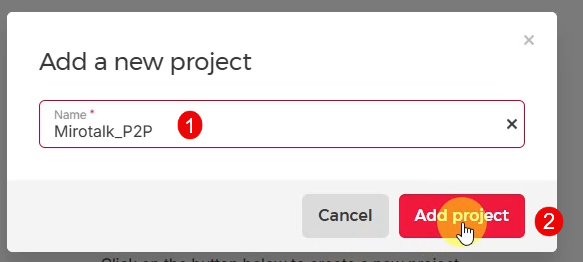
I named mine “Mirotalk_P2P” to keep things organized.
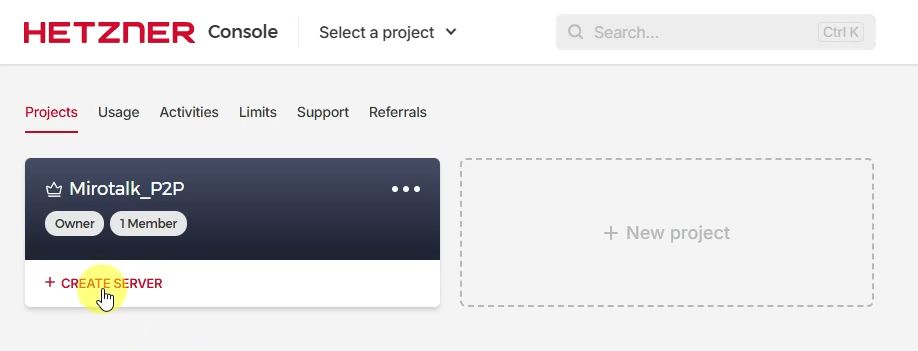
Create the Server
Click “Create Server” and you’ll be guided through the configuration process.
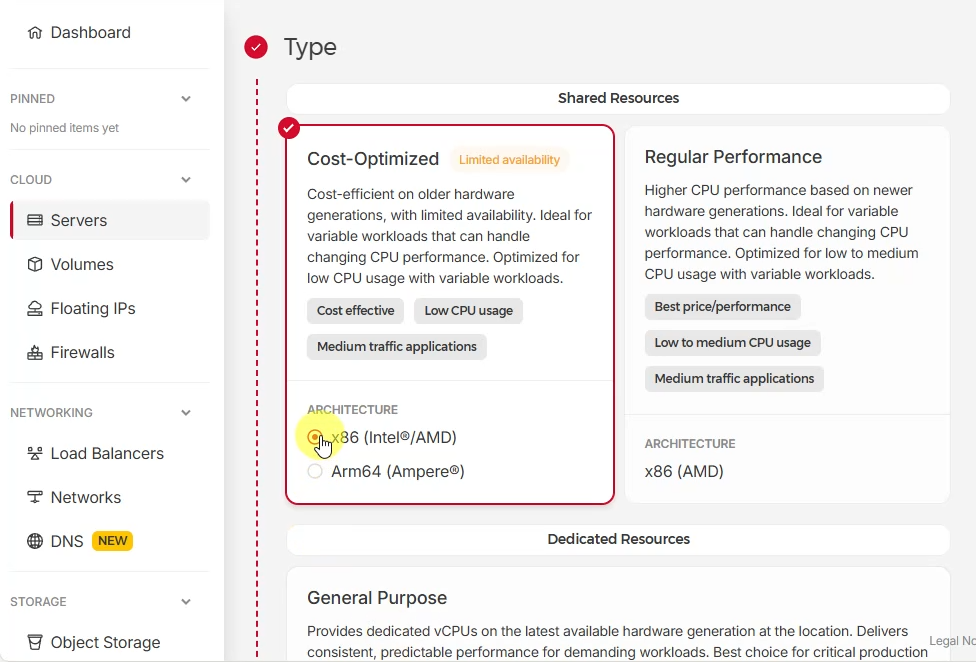
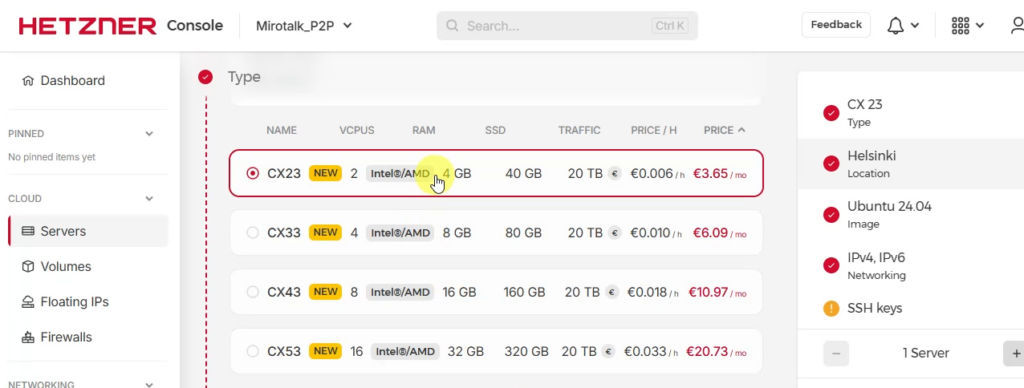
Choose Server Type
Select the server type. For MiroTalk P2P, I recommend:
- Cost-Optimized (Intel or AMD, both work great)
- CX23: 2 vCPU, 4GB RAM, 40GB SSD, 20TB traffic
At €4.26/month, this is more than enough for small teams or personal use. If you need to support more simultaneous calls, you can always scale up later.
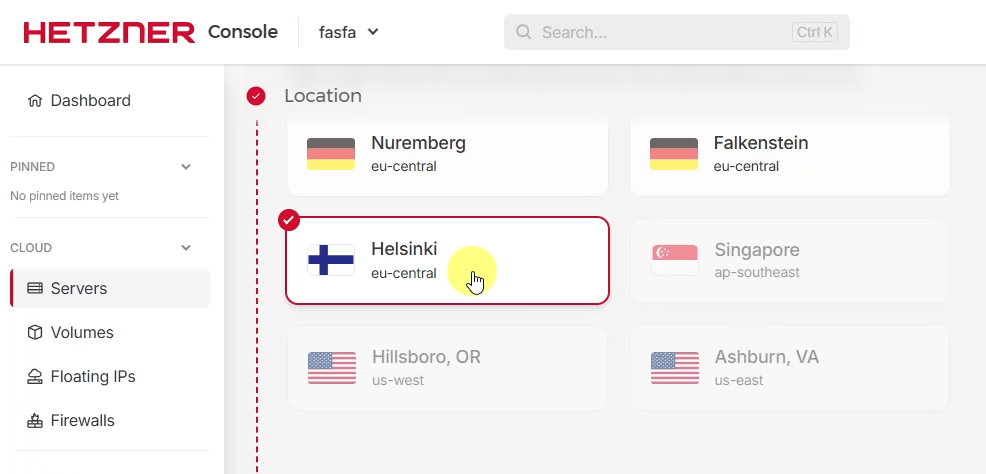
Choose Location
Select a datacenter location close to your users. I chose Helsinki (eu-central), but Nuremberg or Falkenstein work equally well if you’re in Europe. Lower latency = better video quality.
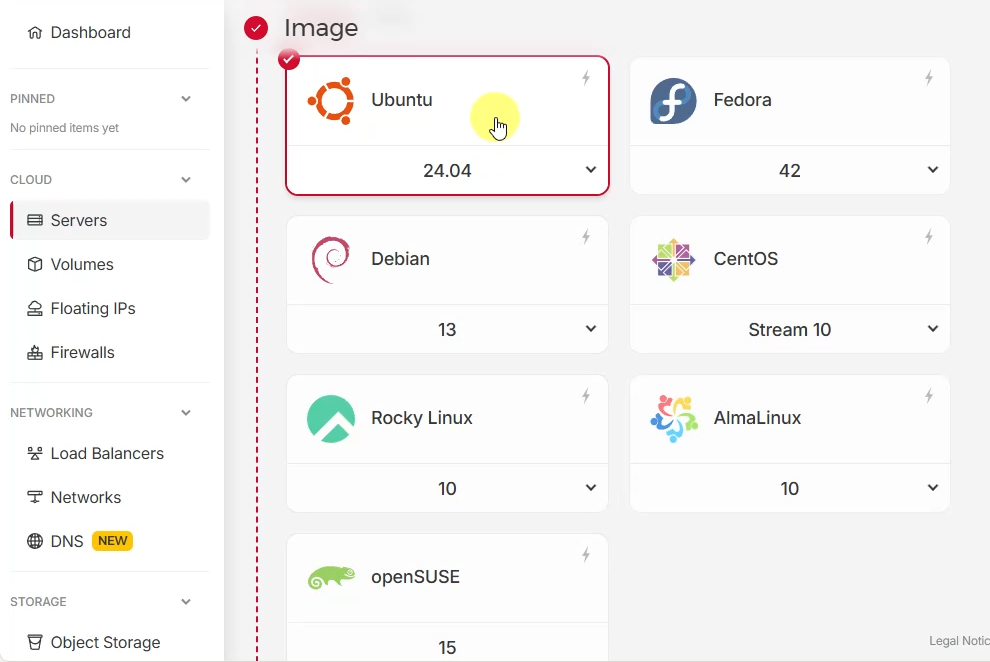
Select Operating System
Choose Ubuntu 24.04 LTS. Why 24.04 specifically?
- Long Term Support (LTS) = 5 years of security updates
- It’s explicitly listed in MiroTalk’s official requirements
- It’s a clean, stable base for Docker deployments
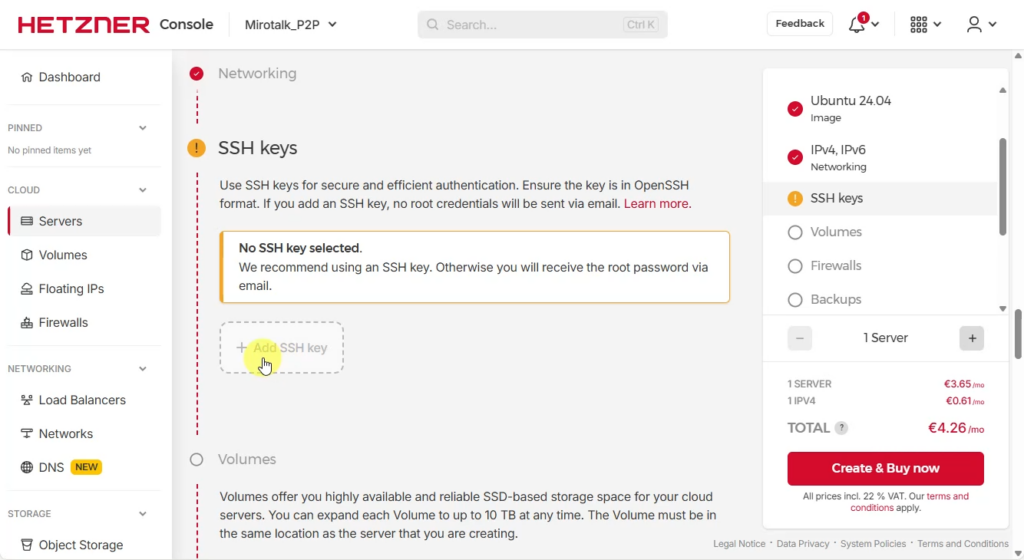
SSH Key Setup
Security first! We’ll use SSH key authentication instead of password authentication. It’s more secure and more convenient.
Generate SSH Key
Click “Add SSH key” in the Hetzner console.
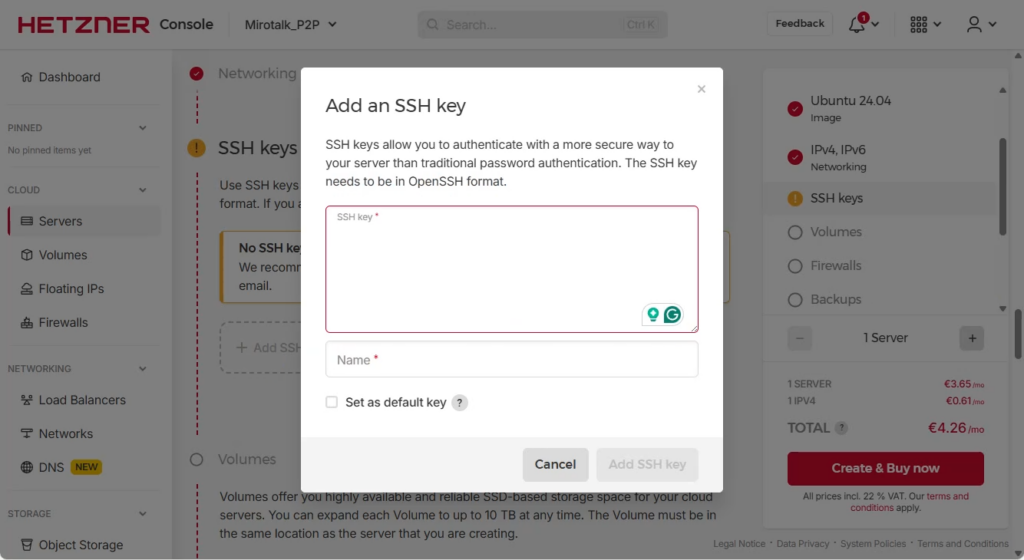
Before adding the key to Hetzner, we need to generate it.
Open a terminal:
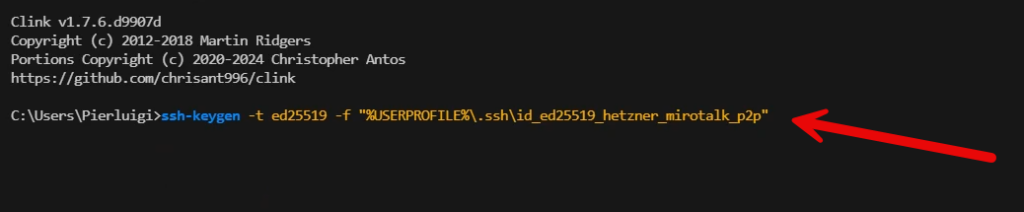
On Windows:
ssh-keygen -t ed25519 -f "%USERPROFILE%.ssh\id_ed25519_hetzner_mirotalk_p2p"On Linux/macOS:
ssh-keygen -t ed25519 -f ~/.ssh/id_ed25519_hetzner_mirotalk_p2p
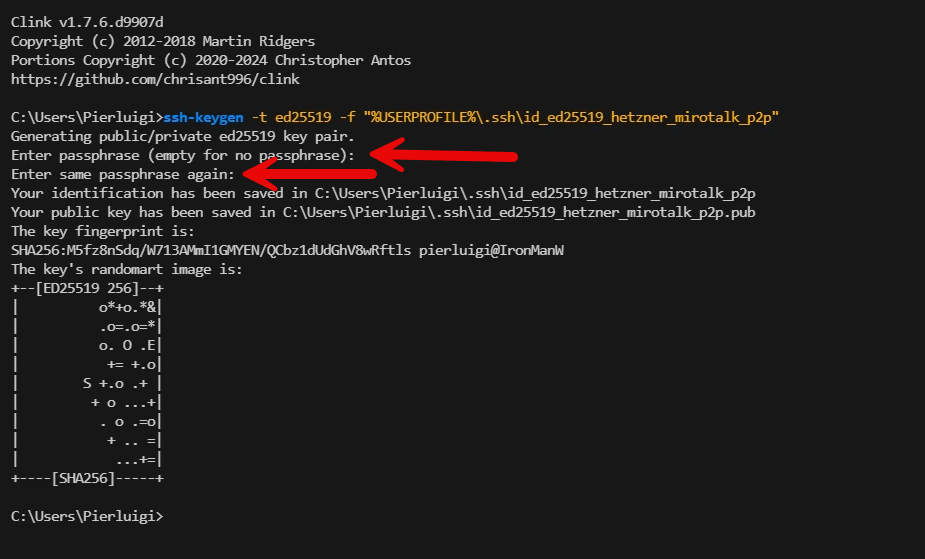
Why Ed25519? It’s the modern standard: smaller keys, better performance, and stronger security compared to RSA.
The command will prompt you for a passphrase. I recommend using one for security. For this demo, I used “mirotalk” (in production, use something stronger!).
Add Public Key to Hetzner
After generation, you’ll have two files:
id_ed25519_hetzner_mirotalk_p2p(private key – keep this secret!)id_ed25519_hetzner_mirotalk_p2p.pub(public key – this goes to Hetzner)
Display your public key:
Windows:
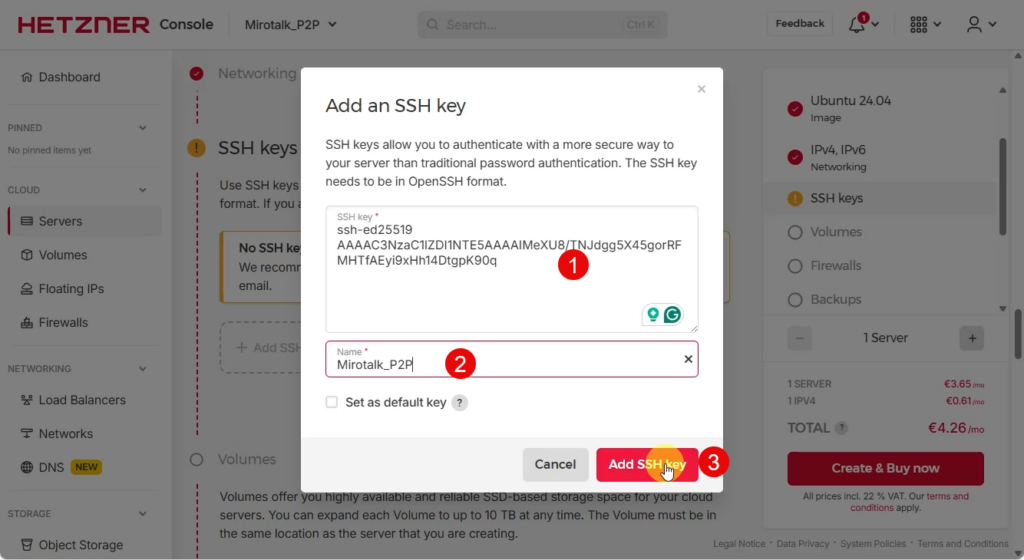
type "%USERPROFILE%\.ssh\id_ed25519_hetzner_mirotalk_p2p.pub"Linux/macOS:
cat ~/.ssh/id_ed25519_hetzner_mirotalk_p2p.pubCopy the entire output and paste it into the Hetzner SSH key field. Give it a name like “Mirotalk_P2P” and click “Add SSH key”.
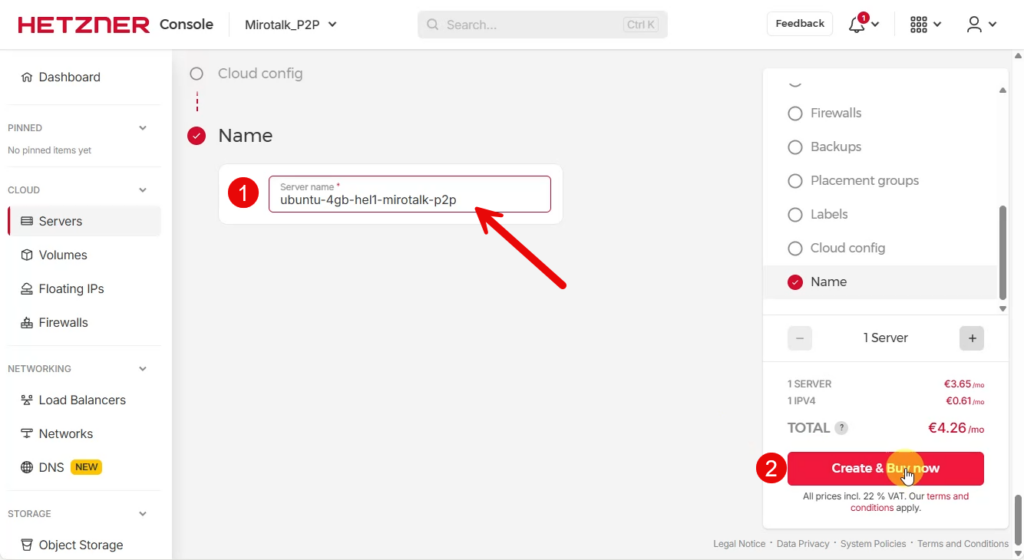
Finalize Server Creation
Scroll down, give your server a descriptive name like ubuntu-4gb-hel1-mirotalk-p2p, and click “Create & Buy now”.
Notice the total cost: €4.26/month. For a complete video conferencing server with unlimited users and meetings, that’s a steal.
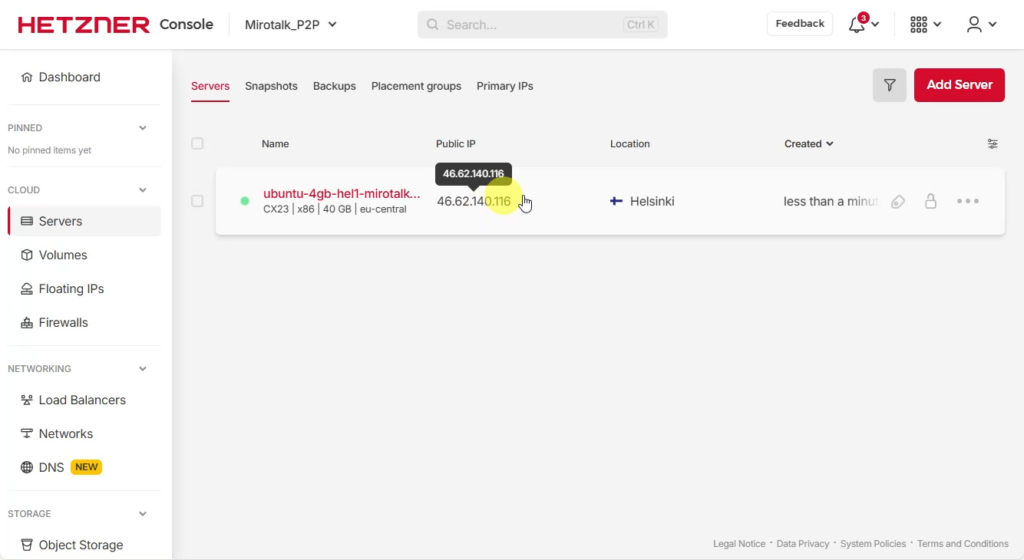
Server is Ready!
In less than a minute (seriously, Hetzner is fast), your server will be running. Copy the public IP address – you’ll need it shortly. In my case: 46.62.140.116
Connecting to Your Server
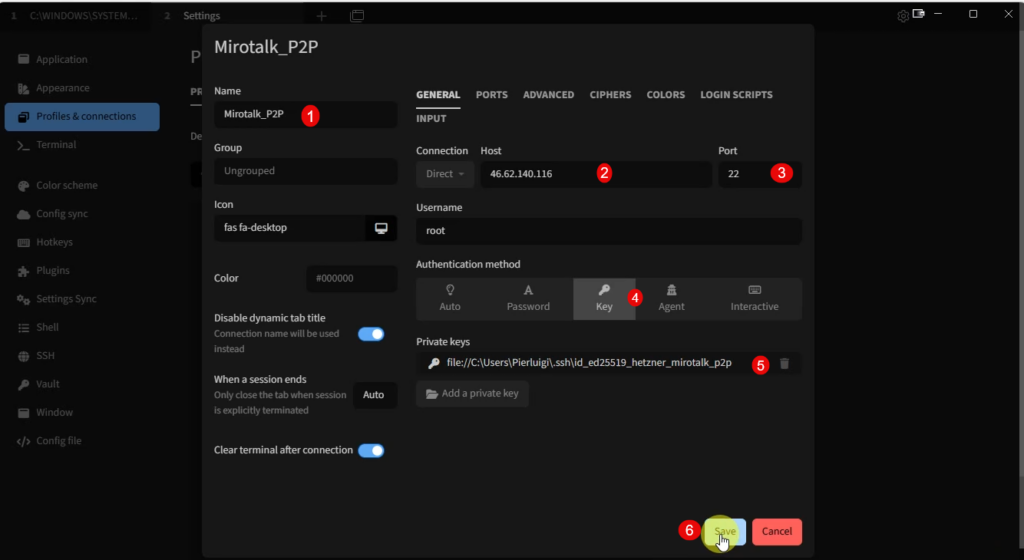
Configure SSH Client
I use Tabby Terminal (available for Windows, Linux, and macOS), but you can use any SSH client: PuTTY, Windows Terminal, native terminal, etc.
Create a new connection with:
- Host: Your server’s IP (46.62.140.116)
- Port: 22
- Username: root
- Authentication: Key-based
- Private key path:
- Windows:
C:\Users\YourUsername\.ssh\id_ed25519_hetzner_mirotalk_p2p - Linux/macOS:
~/.ssh/id_ed25519_hetzner_mirotalk_p2p
- Windows:
First Connection
On first connection, you’ll see a host key verification prompt. Click “Accept and remember key” – this is normal and expected.
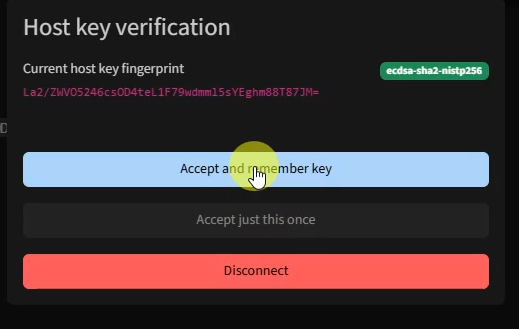
Enter your SSH key passphrase (the one you set during key generation).
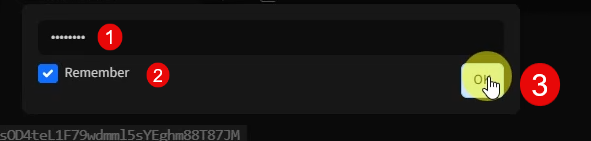
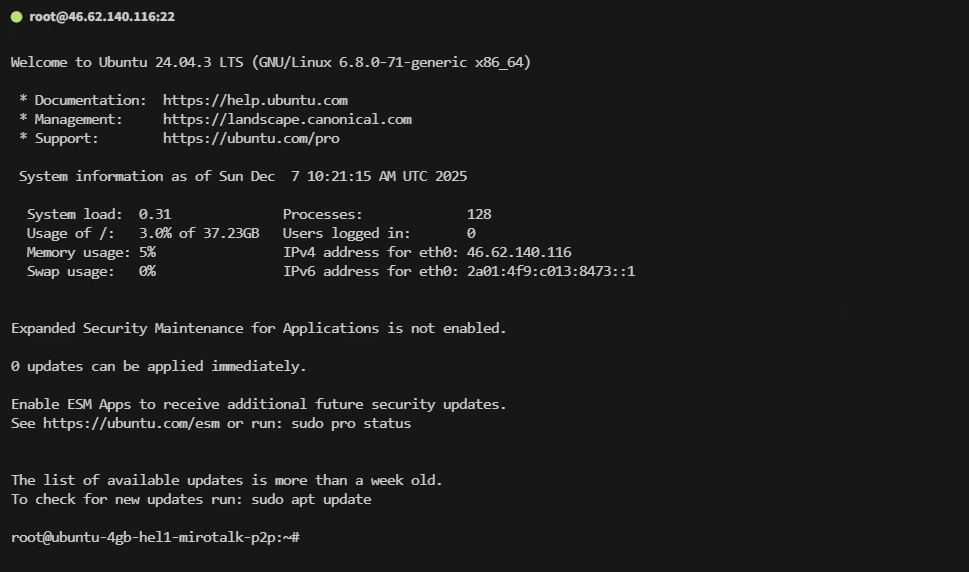
Welcome to your fresh Ubuntu 24.04 server!
DNS Configuration
Before installing MiroTalk, we need to point a domain to our server. MiroTalk requires HTTPS (for WebRTC to work properly), and Let’s Encrypt needs a valid domain to issue certificates.
Add DNS Record
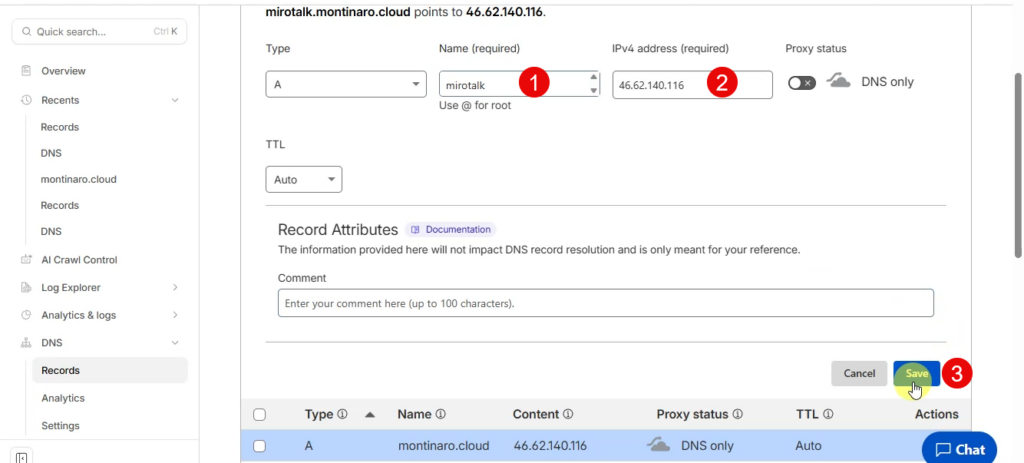
I manage my domains on Cloudflare, but any DNS provider works. Create an A record:
- Type: A
- Name: mirotalk (or whatever subdomain you prefer)
- IPv4 Address: Your server IP (46.62.140.116)
- Proxy Status: DNS only (disable the orange cloud for simplicity)
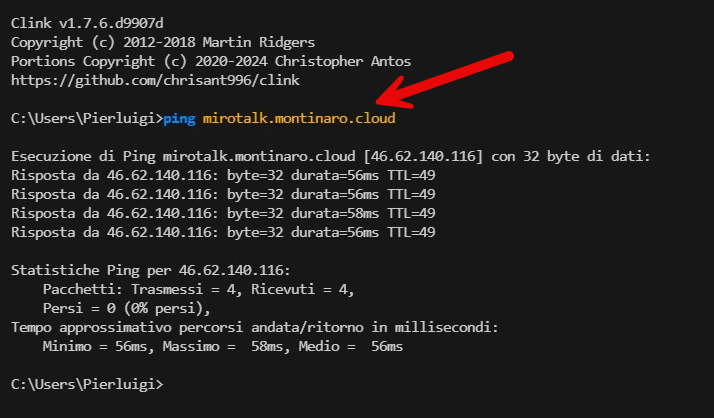
Verify DNS Propagation
Wait a minute for DNS to propagate, then test from your local machine:
ping mirotalk.montinaro.cloudIf you see responses from your server IP, you’re good to go!
Installing MiroTalk P2P
Here’s where the magic happens. The MiroTalk team provides an automated installation script that handles everything. This is why we can do this in ~5 minutes.
Get the Installation Command
Visit the official documentation: https://docs.mirotalk.com/scripts/about/
Scroll to the P2P installation section and copy the command:
# Install MiroTalk P2P
wget -qO p2p-install.sh https://docs.mirotalk.com/scripts/p2p/p2p-install.sh \
  && chmod +x p2p-install.sh \
  && ./p2p-install.sh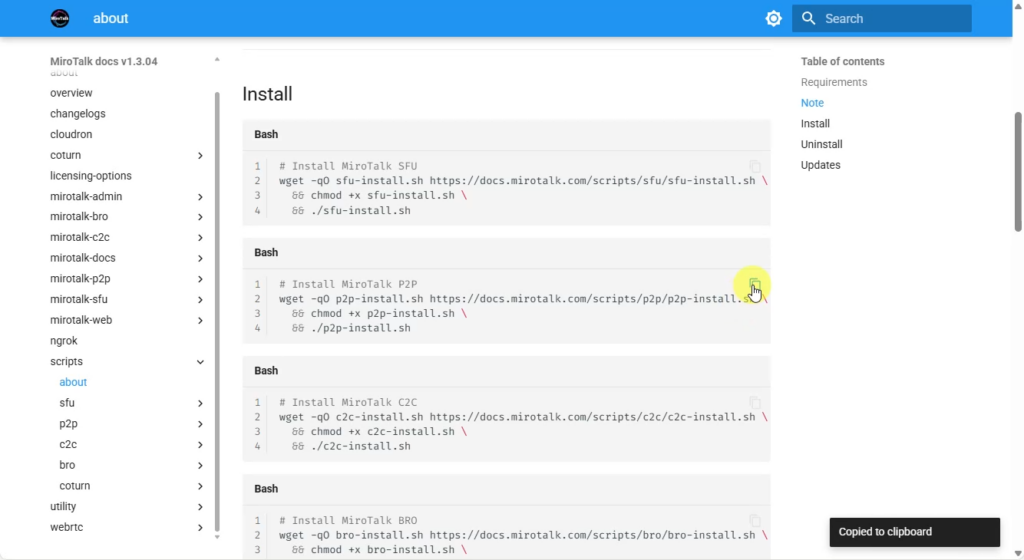
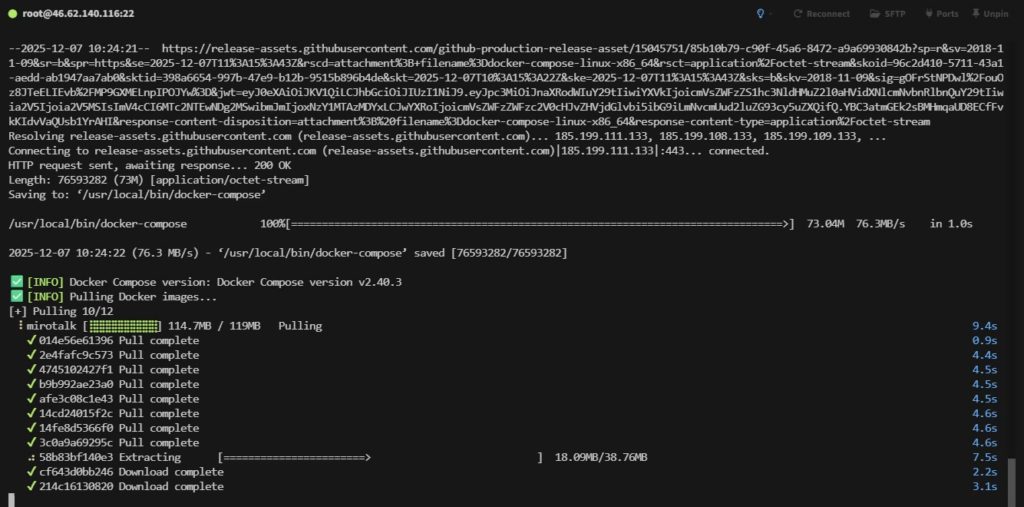
Run the Installation Script
Paste the command into your SSH session and hit Enter.
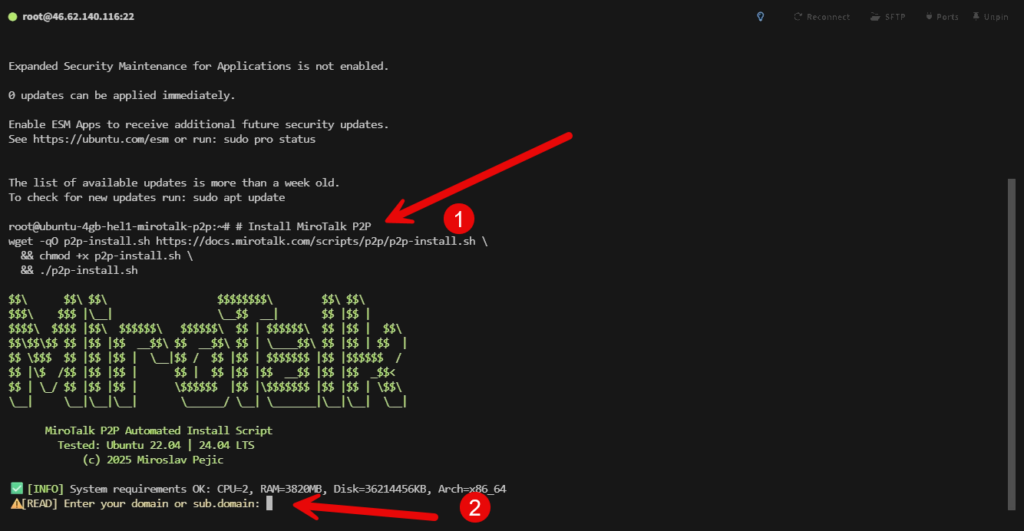
The script will:
- Check system requirements (CPU, RAM, disk space, architecture)
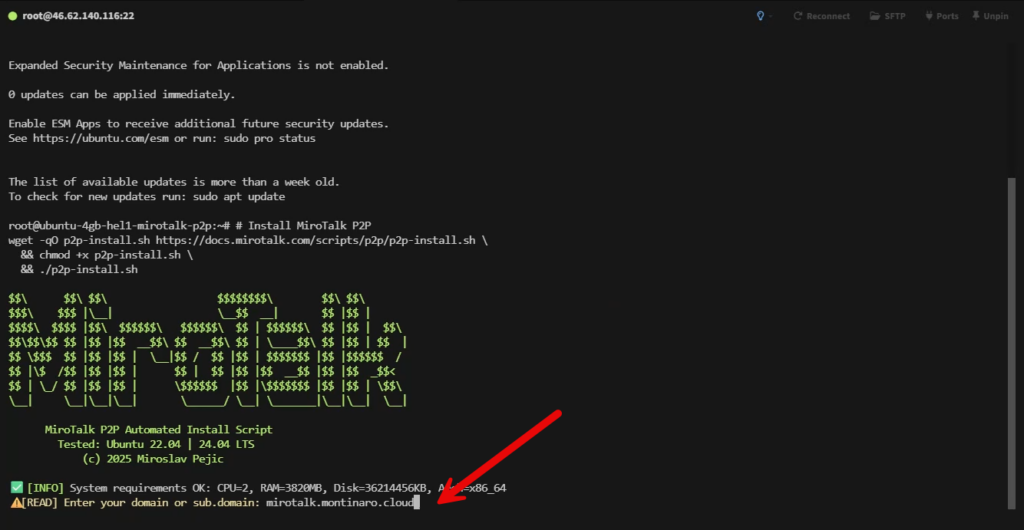
- Prompt for your domain name
Enter your domain: mirotalk.montinaro.cloud (or your own domain)
Then sit back and … watch the automation magic:
- Installs Docker and Docker Compose
- Downloads the MiroTalk P2P Docker image
- Configures Nginx as a reverse proxy
- Requests and installs an SSL certificate from Let’s Encrypt
- Sets up automatic certificate renewal
- Starts all services
SSL Certificate Magic
The script automatically handles SSL certificates via Let’s Encrypt. You’ll see:
- Certificate request for your domain
- Successful certificate issuance
- Certificate saved to
/etc/letsencrypt/live/your-domain/ - Expiration date (typically 90 days)
- Automatic renewal configured via Certbot
This is huge. Manual SSL certificate setup can be painful – this script handles it all.
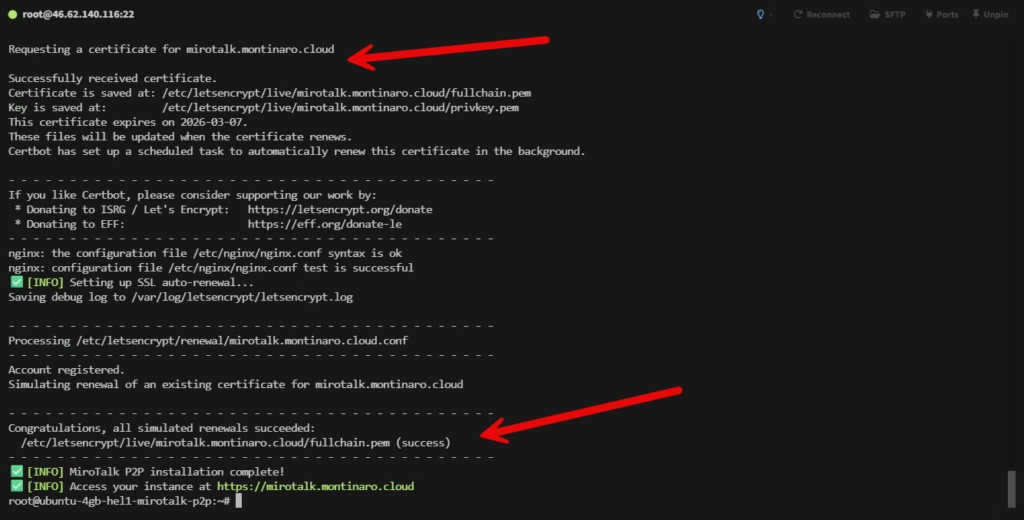
After about 2-3 minutes, you’ll see:
✅ [INFO] MiroTalk P2P installation complete!
✅ [INFO] Access your instance at https://mirotalk.montinaro.cloud
That’s it. You’re done.
Testing Your Installation
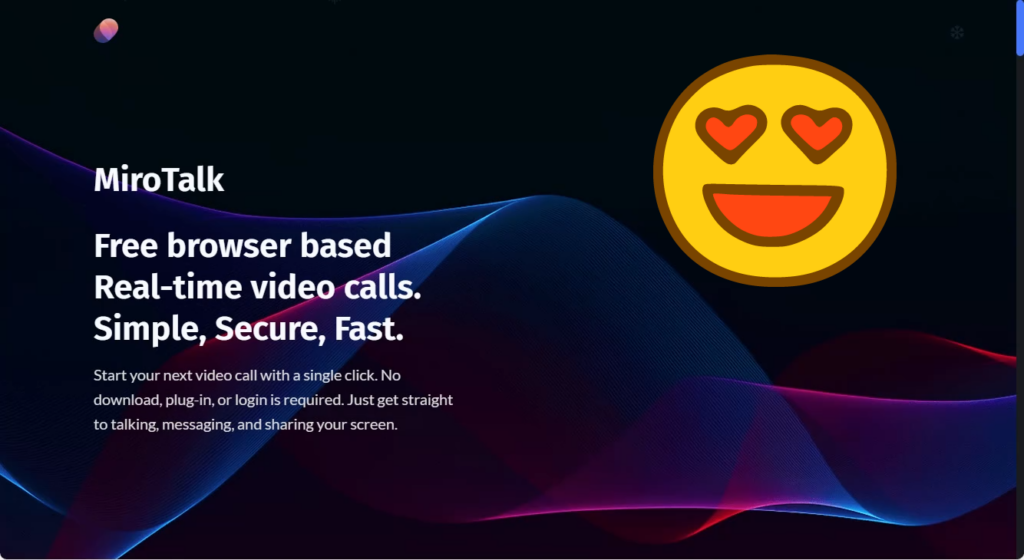
Access Your Instance
Open a browser and navigate to your domain: https://mirotalk.montinaro.cloud
You should see the MiroTalk P2P homepage with its colorful gradient background.
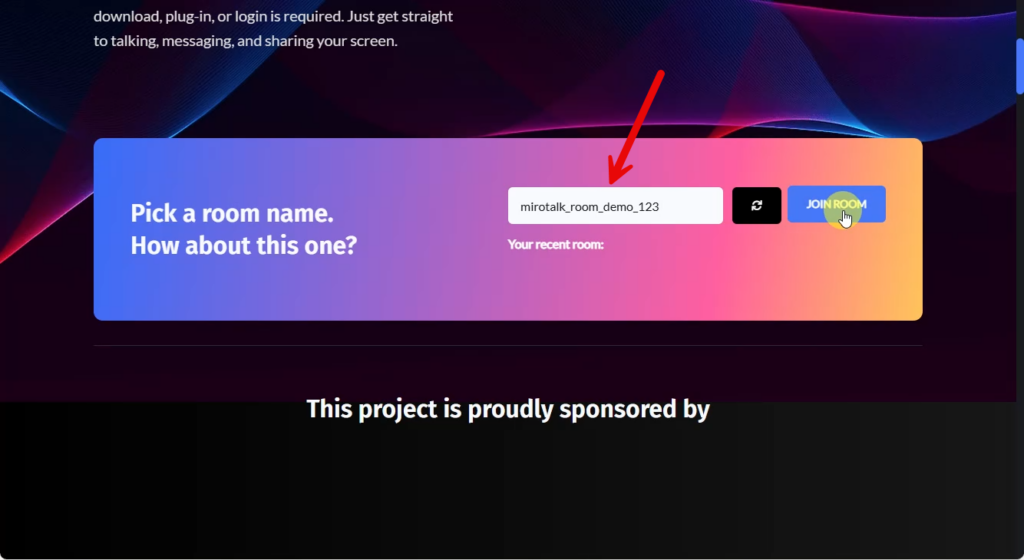
Create a Room
Enter a room name (or use the suggested random name) and click “JOIN ROOM”.
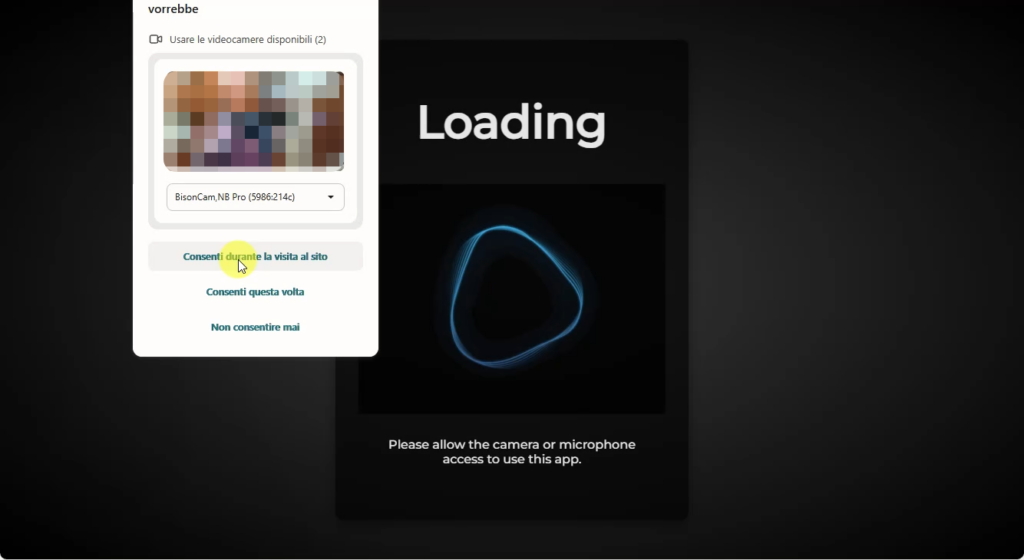
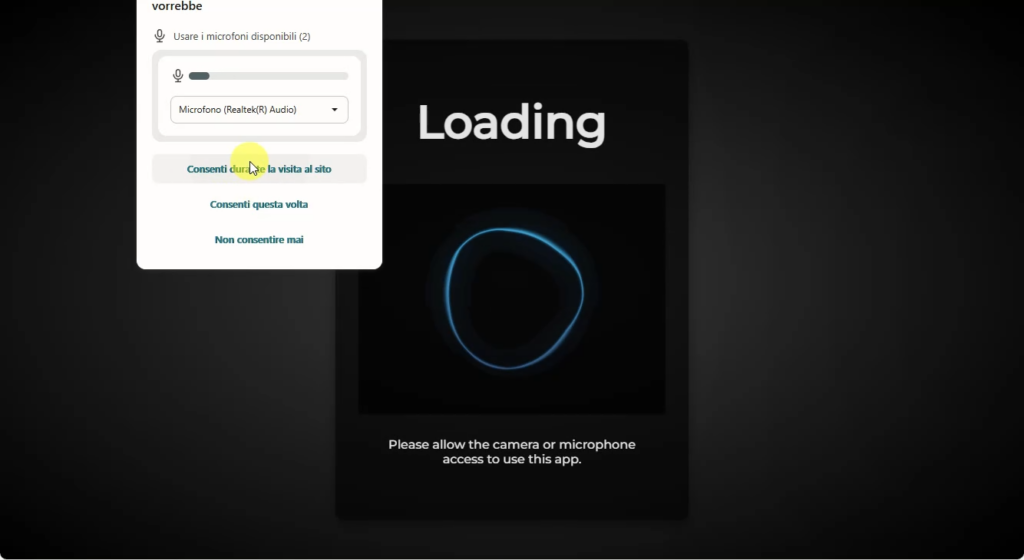
Grant Permissions
Your browser will ask for microphone and camera permissions. Click “Allow” for both.
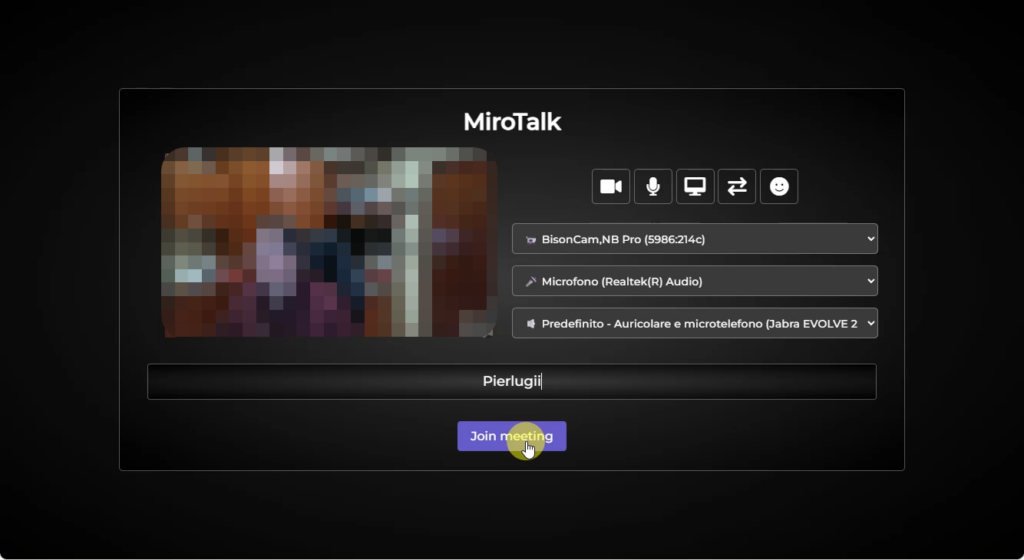
Configure Your Settings
Before joining, you’ll see a preview with:
- Camera selection
- Microphone selection
- Speaker selection
- Your name field
Enter your name and click “Join meeting”.
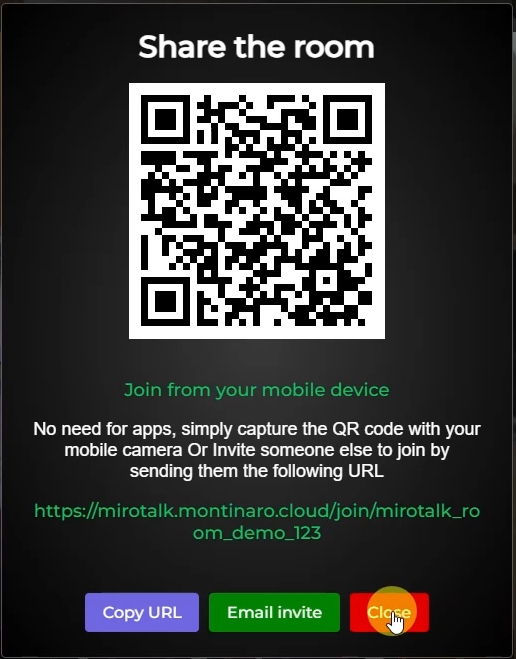
Share the Room
After joining, you can share the room via:
- QR code (perfect for mobile users)
- Direct URL
- Email invitation
You’re Live!
Welcome to your self-hosted video conferencing system! Everything works: video, audio, screen sharing, file transfer, recording – all under your control.
Next Steps
Your MiroTalk P2P instance is now running, but there’s more you can configure:
Host Protection
Protect your instance from unauthorized access: https://docs.mirotalk.com/mirotalk-p2p/host-protection/
This lets you restrict who can create new rooms.
Customization
You can customize various settings of your MiroTalk P2P instance through the configuration options available in the application.
Important Note on Rebranding
To modify branding elements such as icons, descriptions, brand identity, and other personalized visual/textual elements, a commercial license is required.
This license can be purchased on CodeCanyon and directly supports the ongoing development of the project.
Purchase the license here: https://codecanyon.net/user/miroslavpejic85
The core MiroTalk P2P software remains free and open-source, the license is only needed for commercial rebranding purposes.
Check the full documentation at https://docs.mirotalk.com/mirotalk-p2p/
Acknowledgments
Huge thanks to:
- Miroslav Pejic and the MiroTalk team for creating and maintaining this excellent open-source project
- Hetzner for providing affordable and reliable cloud infrastructure
- Let’s Encrypt for free SSL certificates
- The open-source community for making self-hosting accessible
Want Even More Features?
MiroTalk has other products:
- MiroTalk SFU: For larger meetings (Selective Forwarding Unit architecture)
- MiroTalk C2C: For simple cam-to-cam connections
- MiroTalk BRO: Broadcasting solution
That’s it!
You now have your own private video conferencing server.
No tracking, no data mining, no per-user fees.
Just pure self-hosted freedom.
Leave a Reply